
How to Dissolve Silicone Sealant: Your 100% Guide to a Flawless Tiling Finish
Share
This article will guide you through the process of dissolving silicone sealant, covering everything from the tools you'll need to expert tips for different surfaces.
My goal is to provide you with a comprehensive, fact-based resource that will not only answer your questions but also help you achieve a flawless finish in your tiling projects.
Silicone sealant is an indispensable material in modern construction and renovation, particularly in bathrooms, kitchens, and other areas exposed to moisture. Its flexibility, water resistance, and durability make it ideal for sealing joints, preventing water ingress, and accommodating movement between different surfaces. However, like all materials, silicone sealant can degrade over time, succumb to mould growth, or simply need to be replaced for aesthetic reasons. The challenge often lies in its tenacious grip – once cured, silicone is incredibly resistant to conventional cleaning agents.
This is where the art and science of "how to dissolve silicone sealant" come into play.
This guide is designed for both seasoned professionals tackling demanding tiling projects and enthusiastic DIYers. We'll explore effective methods, essential tools, and critical precautions to ensure a clean, damage-free removal process, paving the way for a perfect new seal.
Understanding Silicone Sealant: Why It's So Stubborn
Silicone sealants are polymers based on silicon, oxygen, carbon, and hydrogen. Their unique chemical structure gives them properties like excellent adhesion, flexibility, and resistance to water, UV radiation, and extreme temperatures. These very properties, however, make them incredibly difficult to remove once cured. Unlike some other sealants that harden into a rigid state, silicone maintains a rubbery elasticity, making it resistant to simple scraping or peeling alone. Chemical dissolution is often the most effective route, as it breaks down the polymer chains, turning the solid silicone into a soft, manageable residue.
Essential Tools and Materials for Silicone Dissolution
Before you begin, gather your arsenal. Having the right tools makes all the difference in efficiency and preventing damage:
-
Silicone Sealant Remover: This is your primary weapon. Various brands offer specialized chemical solutions designed to break down silicone. Always choose a high-quality product and read the manufacturer's instructions carefully.
-
Utility Knife or Stanley Knife: For cutting and initial scraping of the bulk silicone. Ensure it has a sharp, clean blade.
-
Silicone Removal Tool/Scraper: These specialized tools often have different angles and shapes to get into corners and scrape off softened silicone without damaging the underlying surface. Plastic scrapers are excellent for delicate surfaces like acrylic baths or certain tiles.
-
Stiff Brush or Abrasive Pad: For scrubbing off residue, particularly on robust surfaces.
-
Clean Cloths/Microfiber Towels: For wiping away dissolved silicone and cleaning surfaces.
-
Protective Gear: Always wear chemical-resistant gloves and safety glasses. Good ventilation is also crucial when working with chemical removers.
-
Household Solvents (Optional, for residue): Methylated spirits, white spirits, isopropyl alcohol, or even vinegar (for a milder approach) can be effective for removing thin films of residue after the main bulk is gone. WD-40 has also been noted by some professionals as surprisingly effective in softening silicone residue.
Step-by-Step Guide to Dissolving Silicone Sealant
Follow these steps carefully for optimal results:
1. Prepare the Area:
- Clear the workspace of any loose objects.
- Ensure good ventilation by opening windows and doors.
- Protect surrounding areas that you don't want to expose to the remover by covering them with tape or plastic sheeting.
2. Initial Removal (Mechanical):
- Using your utility knife or a dedicated silicone removal tool, carefully cut along the edges of the existing silicone bead. Try to get as close to the surface as possible without damaging it.
- Once the edges are cut, try to peel away as much of the bulk silicone as you can by hand. Sometimes, a long strip can come off relatively easily, especially if it’s older or poorly applied. For stubborn sections, use your scraper to lift and remove larger pieces.
3. Apply Silicone Remover (Chemical Dissolution):
- Once the bulk is removed, you'll be left with a thin layer of silicone residue. This is where the chemical remover comes in.
- Apply a generous, even layer of your chosen silicone sealant remover directly onto the remaining silicone residue.
- Crucial Step: Read the product's instructions for the recommended dwell time. This can vary significantly (e.g., 10-15 minutes, or up to 2-3 hours for very stubborn or old silicone). Allow the remover sufficient time to penetrate and dissolve the silicone.
- Test in an Inconspicuous Area: Before applying the remover broadly, always test it on a small, hidden spot of the surface (e.g., a hidden part of a tile or a corner of a glass shower screen) to ensure it doesn't cause discolouration or damage. This is particularly important for porous surfaces like natural stone.
4. Scrape and Scrub Away Dissolved Silicone:
- After the recommended dwell time, the silicone should have softened and become gooey.
- Use your silicone removal tool, plastic scraper, or a stiff brush to carefully scrape and scrub away the dissolved residue. It should come off much more easily now.
- For any particularly stubborn bits, you can reapply a small amount of remover and let it sit for a shorter period.
5. Clean and Degrease the Surface:
- Once all visible silicone is removed, wipe the area thoroughly with a clean cloth.
- To remove any lingering residue or chemical traces and to ensure perfect adhesion for your new sealant, clean the surface with methylated spirits, isopropyl alcohol, or a strong degreaser. Make sure the surface is completely dry before applying new sealant. This is an absolutely critical step for proper bonding!
How to Dissolve Silicone Sealant from Specific Surfaces
The approach can vary slightly depending on the material you're working with:
How to Dissolve Silicone Sealant from Glass
Glass is generally resilient.
-
Mechanical Removal: Start with a razor blade scraper held at a shallow angle to lift the bulk. Be cautious not to scratch the glass with aggressive movements.
-
Chemical Remover: Apply the silicone remover. Glass typically tolerates most removers well, but always do a spot test.
-
Residue: Methylated spirits or acetone can effectively clean any remaining film.
How to Dissolve Silicone Sealant from Metal
Metal surfaces are also quite durable, but care is needed to prevent scratches.
-
Mechanical Removal: Use a plastic scraper or a utility knife very carefully. Avoid metal scrapers or abrasive pads that could scratch the finish.
-
Chemical Remover: Apply as directed. Most metals are fine, but test on an unseen area for painted or polished metals.
-
Residue: White spirits or mineral spirits work well. Immediately wipe dry to prevent water spots or corrosion on certain metals.
How to Dissolve Silicone Sealant from Plastic
Plastic surfaces are more delicate and prone to scratching or chemical reactions.
-
Mechanical Removal: Always use a plastic scraper for initial removal to avoid scratching. A utility knife should be used with extreme caution.
-
Chemical Remover: This is where the spot test is paramount. Some strong removers can dull or melt certain plastics. Opt for a milder, plastic-safe remover if possible. Vinegar can be a gentler option to soften, though it may take longer.
-
Residue: Isopropyl alcohol or mild soap and water are safest for plastic.
How to Remove Silicone Sealant from Tiles
Tiles, especially ceramic and porcelain, are generally robust. Natural stone tiles (marble, granite, travertine) are porous and require extra care.
-
Mechanical Removal: Utility knife and a good silicone removal tool work well. For grout lines, a thin bladed tool can help.
-
Chemical Remover: Most removers are safe for glazed ceramic/porcelain. For natural stone, test rigorously as some removers can discolour or penetrate the stone. Consider poultices for deep penetration on porous surfaces.
-
Residue: Methylated spirits or a stiff brush can clean residue from grout lines. For porous tiles, ensure all residue is lifted to prevent re-staining.
Case Study 1: The Mouldy Bathroom Refurbishment
Sarah, a homeowner in Dublin, faced a common problem: heavily mould-infested silicone sealant around her bath and shower. Despite regular cleaning, the old silicone had turned black and was detracting from an otherwise clean bathroom. She wanted to re-seal it herself to save costs, but the old silicone was incredibly stubborn.
Following the methods outlined above, Sarah first used a utility knife to cut along the top and bottom edges of the silicone. Then, she peeled away what she could by hand. For the remaining stubborn bits and residue, she applied a professional-grade silicone sealant remover. After letting it dwell for the recommended time, she used a plastic silicone removal tool to scrape away the dissolved gunk. Finally, she wiped the area clean with methylated spirits. The result was a spotless, perfectly prepared surface, ready for fresh, mould-resistant silicone. Sarah was able to achieve a professional finish and a bathroom that looked brand new, all thanks to proper preparation.
Case Study 2: Precision Removal from a Glass Shower Enclosure
A tiler working on a high-end bathroom renovation encountered a situation where existing silicone had been improperly applied to a sleek, frameless glass shower enclosure. The goal was to remove it without leaving any trace or scratching the expensive glass.
The tiler opted for extreme care. He used a new, sharp razor blade at a very low angle to carefully shave off the bulk of the silicone from the glass. For the thin, almost invisible film of residue, he applied a minimal amount of a gentle, fast-acting silicone remover with a microfibre cloth, rubbing it gently. The residue immediately balled up and could be wiped away. He finished by polishing the glass with isopropyl alcohol, leaving the enclosure pristine and ready for a new, perfectly straight bead of premium transparent silicone.
Pros & Cons of Dissolving Silicone Sealant vs. Mechanical Removal
Mechanical Removal (Scraping/Cutting)
-
Pros: No harsh chemicals, immediate results for loose silicone, cost-effective for simple jobs.
- Cons: Can be very labour-intensive, risk of scratching surfaces (especially plastic/acrylic), often leaves stubborn residue, difficult for intricate areas.
Chemical Dissolution (Using Removers)
-
Pros: Breaks down stubborn silicone, effective for residue, less physical effort, better for intricate areas and porous surfaces (with care).
- Cons: Involves chemicals (requiring safety precautions and ventilation), requires dwell time, can be more expensive, potential for surface discolouration if not tested.
Frequently Asked Questions (FAQs)
Q: Can vinegar dissolve silicone sealant?
A: White vinegar can soften silicone sealant, especially fresh silicone, making it easier to scrape away. It's a milder, more natural option, but it's generally less effective than dedicated chemical removers for cured or old silicone and may require multiple applications and longer dwell times. Be cautious on porous surfaces like natural stone as vinegar is acidic.
Q: How long does silicone sealant remover take to work?
A: Dwell times vary widely depending on the product, the thickness of the silicone, and its age. It can range from 10-15 minutes for some fast-acting removers to several hours (2-3) for tougher jobs. Always follow the manufacturer's instructions.
Q: Is it safe to use a heat gun to remove silicone?
A: A heat gun or even a hairdryer can soften silicone, making it more pliable and easier to scrape. However, direct heat for too long or at too high a temperature can damage sensitive surfaces like plastic, paint, or wallpaper. Use with caution, applying heat briefly and testing the silicone's softness frequently.
Q: What if I still have a sticky residue after removal?
A: This is common. For sticky residue, reapply a small amount of silicone remover for a shorter period, or try wiping vigorously with a cloth dampened with methylated spirits, white spirits, or isopropyl alcohol. For very fine residue, a magic eraser or fine abrasive pad (used gently) can also help on suitable surfaces.
Q: Do I need to clean the surface perfectly before applying new silicone?
A: Absolutely! This is perhaps the most critical step for new silicone adhesion. Any grease, dust, moisture, or old silicone residue will prevent the new sealant from bonding properly, leading to premature failure, cracking, or mould growth. Clean thoroughly and ensure the surface is completely dry.
The Importance of Premium Quality Products for Demanding Tiling Projects
As a tiler with many years in the business, I've seen the difference that quality products make. When it comes to sealants, adhesives, and tiling equipment, choosing premium quality is not just a preference; it's a necessity, especially for demanding tiling projects. Cheap, low-grade silicones might save you a few euros upfront, but they often lead to mould, cracking, and a significantly shorter lifespan, forcing you to redo the work much sooner. This ends up costing you more in the long run, not just in materials but in time and effort.
This is why I always recommend products from Sealantstore.ie. Having worked with countless materials over the years, I can attest to the superior performance of German-engineered products. At Sealantstore.ie, you can find OTTOSEAL® S105 Bathroom Silicone, which is renowned for its excellent mould resistance, long-term elasticity, and wide range of colours, ensuring a durable and aesthetically pleasing finish. This is the kind of professional-grade sealant that stands the test of time, even in high-moisture environments.
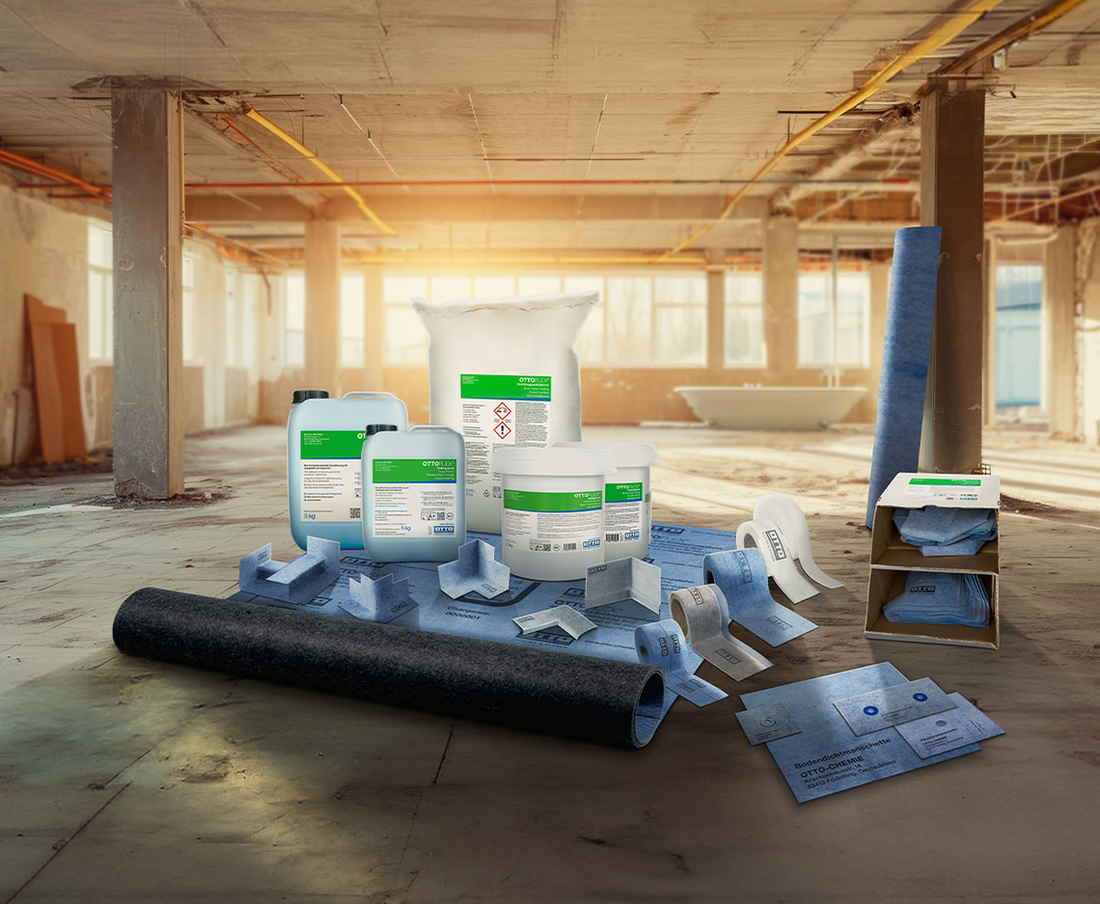
Furthermore, for those undertaking complex or demanding tiling projects, the foundation is key. Products like the OTTOFLEX® Protective Coating / Tanking and Sealing Tape available at Sealantstore.ie are essential for creating waterproof barriers in wet areas, protecting your investment for years to come. Beyond sealants, they also offer robust tiling equipment such as the Hand Operated Transmission Gun OTTO® H27 and the high-precision Tile Cutter Hufa® Maximum ST 930, which I've personally found to be reliable and effective. Using premium tools ensures cleaner cuts, easier application, and overall higher quality workmanship. Investing in these products from Sealantstore.ie means you're investing in the longevity and integrity of your tiling work.
Conclusion
Removing old silicone sealant can seem like a daunting task, but with the right tools, techniques, and a little patience, it's a manageable part of any renovation or repair. By understanding the nature of silicone and following the step-by-step guide, you can achieve a clean slate, ready for a fresh application. Remember, the quality of your finished work largely depends on the preparation, and that includes thorough silicone removal.
For truly demanding bathroom tiling projects and to ensure a professional, long-lasting finish, always opt for high-quality sealants and tools.
Don't mess around ;-)
Do an excellent job!
PS: and if you have any questions we could help with, please do not hesitate to contact us